
Why we need 360° illustration?
Pictures 360° is quite a new feature attracting your attention. It will be «like no others», WOW effect, «likes», reposts, comments plus there is always a possibility that someone may ask you to send him a picture as he would like to use it as wallpapers. It will help you, for sure, with advertisement, promotion, personal style, etc. depending on your particular tasks. Click here for examples of 360° illustrations.
Creation 360°. Step-by-step guideline.
Whereas with 360° pictures everything is clear: just take a panoramic picture with any state-of-the-art gadget, upload to Facebook and social network will do everything – what you shall do if you want to post 360° illustration is quite an issue? Below you we are explaining what your attention shall be paid to when creating such panoramic illustrations in Adobe Photoshop.
1. File Creation
Create a file with proportions 2:1 (a length twice more than a width). We would recommend to created large files suitable for printing with resolution of 250 dpi. High resolution makes it far more easier draw the details.
2. Creation process
Here is magic with a touch of inspiration when you have to generate a theme, choose a style, understand the number of objects/characters and start to create a composition.
3. Working with composition
In order to cope easier with perspective (panoramic images are characterized with a considerable distortion) you can find the 360° image of any more or less suitable space and locate your objects based on it.
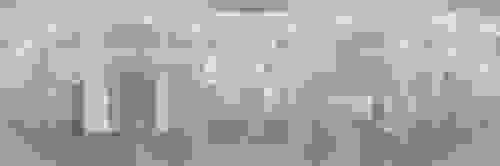
- Line of horizon is better be located in the center or a bit lower.
- To avoid tortures with joints of walls, ceiling, windows and other things you can simplify the task: select some conditional space for your story with fuzzy shapes. E.g. it can be underwater world, space…or even not identified space as we did.
- The illustration shall be continuous (solid drawn) horizontally. It is comfortable to use a filter “Filter-Other-Set” for shifting to the required number of pixels (set up approximately half of your file size to shift “the seam” to the middle).
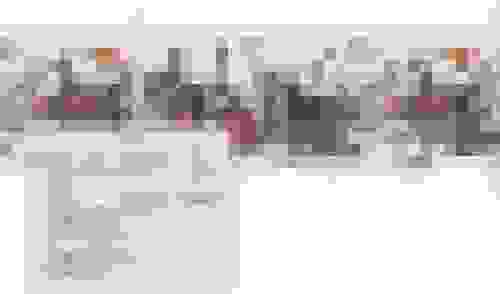
- Closely located objects shall be quite larger than those placed far away; this will widen the space and the illustration will look more interesting with spherical effect.
- Facebook brings the image considerably closer so you have to pay attention to the details and some parts of the picture shall be drawn in more detail, you’d better add some tiny things that will be worth of searching for and being looked over.
- At the final stage let the illustration pass through “Other – Offset” filter (only horizontally) a couple of times to check the joints. Save in .jpg and go to the next step.
4. Correcting meta-date
The main disappointment is that when trying to publish your correctly drawn illustration in Facebook you will see a usual picture and can forget about 360° effect. You have to change illustration meta-date to enable Facebook to recognize it as panoramic. There are a lot of articles telling about the resources and apps you may use for creating 360° pictures.
- Open the illustration you drawn in Photoshop, select «File – File info» (Shift + Option + Command + I). Then in a pop-up window, in a lower part of dialog window, of the tab «Raw Data» you have to select «Export».

- Then open exported .xmp fild by any text editor and just insert the code given below after the third line (the values 3000 and 6000 shall be replaced with length and width values of you panorama).
<rdf: Description rdf:about=“” xmlns:GPano=“http://ns.google.com/photos/1.0/panorama/“> lt;GPano:CroppedAreaImageHeightPixels>b>3000</GPano:CroppedAreaImageHeightPixels> <GPano:CroppedAreaImageWidthPixels>6000</GPano:CroppedAreaImageWidthPixels> <GPano:FullPanoHeightPixels>3000</GPano:FullPanoHeightPixels> <GPano:FullPanoWidthPixels>6000</GPano:FullPanoWidthPixels></rdf: Description>
- Save file with meta-data and import back to the Photoshop (the scheme is the same as for export).
- Save panoramic illustration in Photoshop.
- Upload to Facebook and enjoy the result.
Those who are suffering from panic fear even hearing the word «meta-date» may download the file with a picture and conditional guiding parameters. File already comes with all panoramic adjustments, you shall just open Photoshop, draw illustration and save as a usual .jpg.
Ta da!